Uso pratico di SmartCode nella produzione fotografica ad alto volume
Scopri come le operazioni ad alto volume utilizzano gli SmartCode PhotoRobot per controllare direttamente le sequenze software e massimizzare la produttività nei flussi di lavoro di produzione.
Abilitare flussi di lavoro più fluidi con PhotoRobot SmartCodes
Il flusso di lavoro PhotoRobot SmartCode prevede l'utilizzo di uno scanner per leggere gli SmartCode stampati che consentono il controllo diretto delle sequenze software PhotoRobot. Pensa agli SmartCode come a codici trigger speciali, che istruiscono il software a eseguire comandi per le diverse fasi di produzione. Ciò consente agli operatori della linea di produzione di scansionare semplicemente codici QR o codici a barre per avviare vari processi di flusso di lavoro.
Ad esempio, le sale di produzione più grandi che utilizzano PhotoRobot stampano tipicamente gli SmartCode come adesivi e etichette da posizionare vicino alle postazioni di lavoro. In altri casi, gli SmartCode vanno direttamente sui portachiavi, eliminando ulteriormente i movimenti inutili all'interno dello studio. La scansione dei codici attiva quindi diverse fasi del flusso di lavoro, dalla pesatura e misurazione degli articoli allo smistamento, all'allestimento e all'acquisizione.
Non c'è movimento avanti e indietro da una postazione di lavoro ROBOTIC a un computer, accelerando drasticamente le linee di produzione. La produttività è ancora maggiore quando gli SmartCode sono estremamente vicini agli oggetti da fotografare. In questi casi, gli operatori devono solo posizionare i prodotti sulla macchina e scansionare un codice per segnalare istantaneamente l'inizio delle sequenze.
Continua a leggere per la tua introduzione ai PhotoRobot SmartCodes, incluso un esempio pratico del loro utilizzo in sale di produzione fotografica più grandi.
Produzione tipica di studio PhotoRobot ad alto volume
Un classico esempio di un grande capannone di produzione che utilizza PhotoRobot beneficia di ogni postazione di lavoro che offre un tempo di produzione di circa 1 minuto per prodotto. Sono quasi 500 articoli per turno di 8 ore per ogni singola postazione di lavoro.
Prendiamo ad esempio una linea di produzione standard ad alto volume alimentata da PhotoRobot.
- Nelle sale di produzione più grandi, potrebbero esserci 10, 20 o anche più di 60 postazioni di lavoro robotiche.
- Ogni postazione di lavoro è operativa simultaneamente per più turni ogni giorno.
- Ci sono 5 fasi vitali di produzione: scansione e misurazione, smistamento e styling, acquisizione robotizzata, post-elaborazione, API e pubblicazione.
- La sala di produzione produce migliaia di risorse per turno, anche in ambienti di magazzino naturali.
- Ci sono gallerie 2D completamente post-elaborate, 360 SPIN, modelli 3D e video di prodotti a 360 gradi.
Mentre PhotoRobot supporta ogni fase di questa produzione, ci sono poi i PhotoRobot SmartCode in posizioni convenienti lungo la linea di produzione. Ogni codice consente ai team di attivare facilmente diverse fasi del flusso di lavoro scansionando un codice quando pronti.
La scansione degli SmartCode consente il controllo diretto del software per:
- Pesa e misura gli articoli con CubiScan.
- Ordina gli articoli in scaffali software (carrelli) in base alle proprietà fotografiche e ai preset.
- Articoli pronti per l'acquisizione nel sistema.
- Robotizza la cattura.
Allo stesso tempo, è possibile collegare ogni postazione di lavoro PhotoRobot con il controllo da un'unica interfaccia software.
C'è la post-produzione automatica con consegna tramite API e integrazioni cloud, quindi la pubblicazione dei file diventa automatica e istantanea dopo l'acquisizione. I processi manuali semplicemente scompaiono in background, garantendo che qualsiasi talento umano possa facilmente ricreare i flussi di lavoro semplicemente scansionando gli SmartCodes.
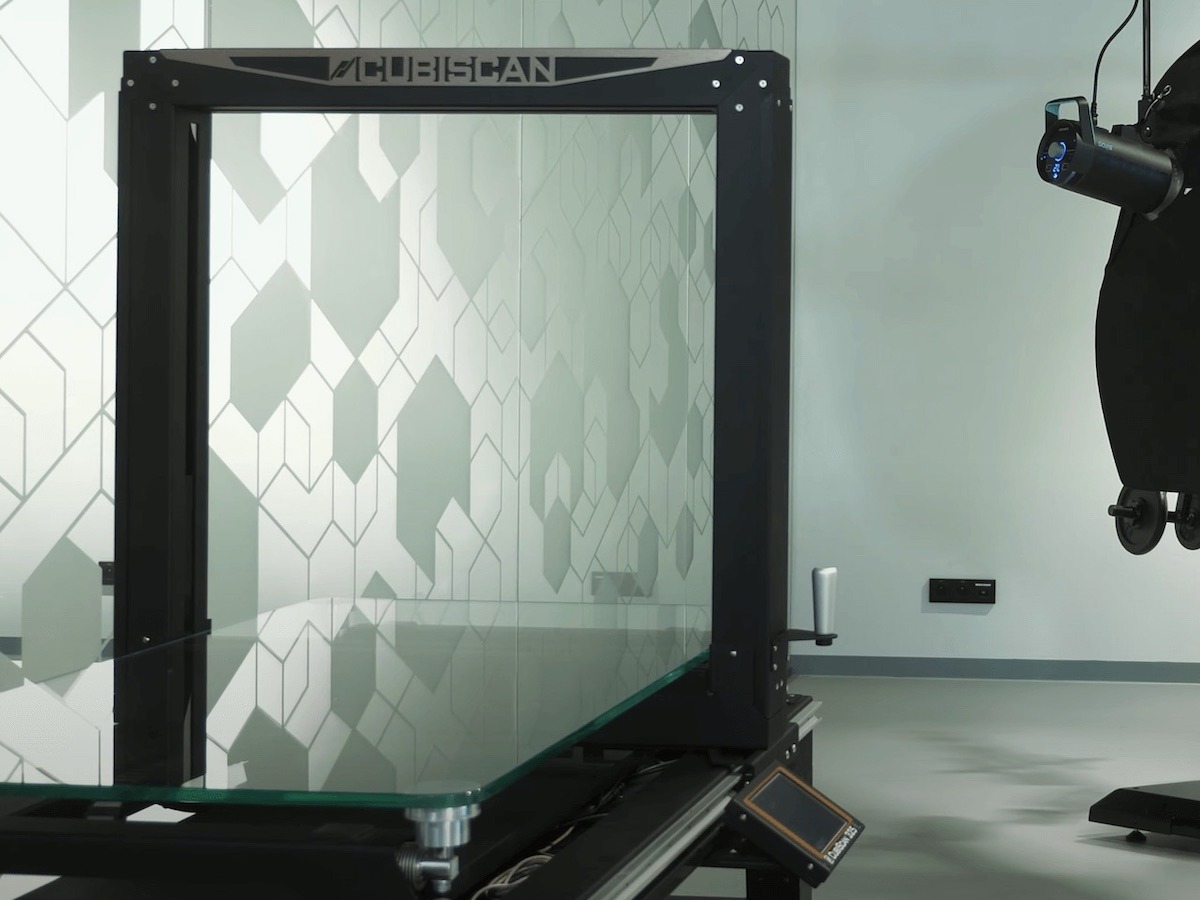
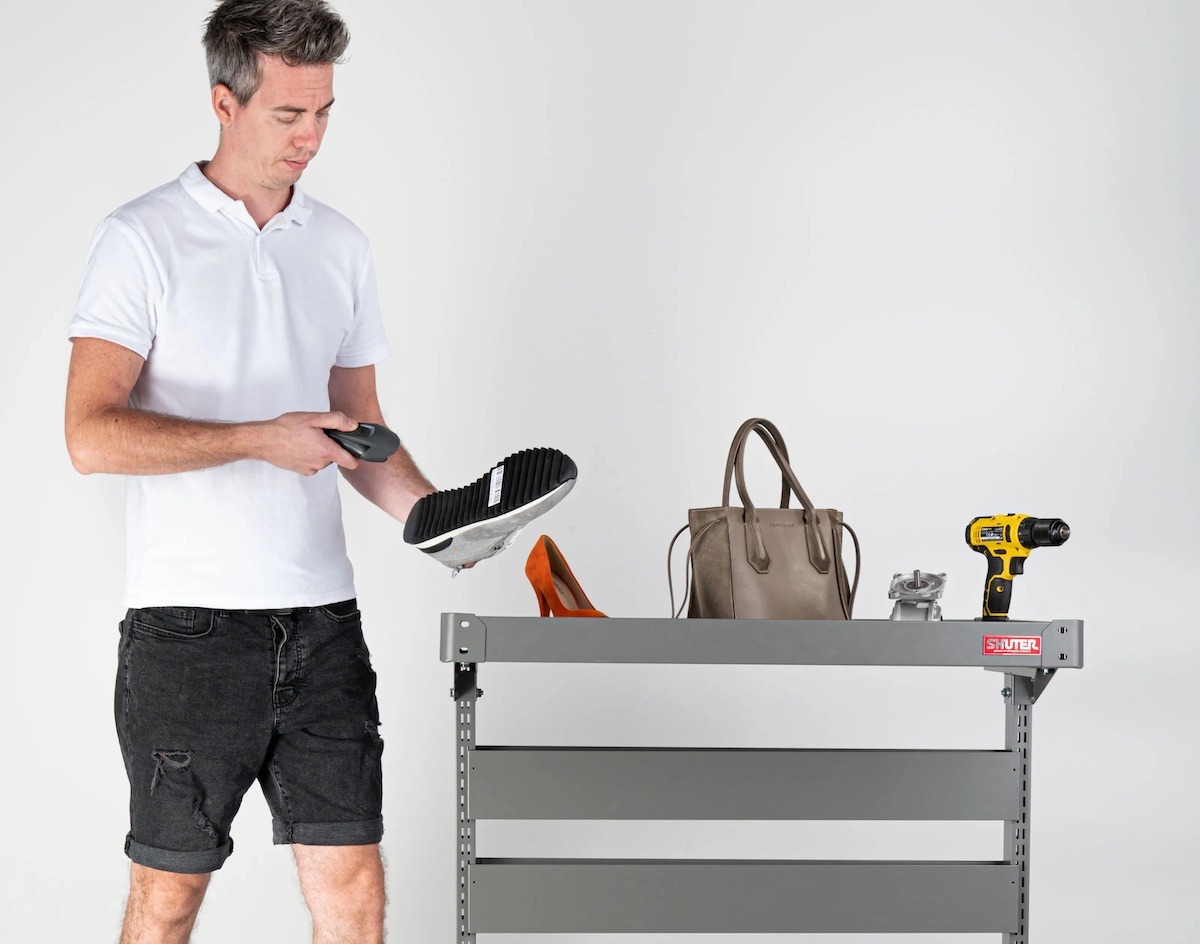
1 - Utilizzo degli SmartCode per CubiScan per pesare e misurare gli articoli
Nelle primissime fasi del flusso di lavoro, molte sale di produzione utilizzano uno SmartCode per pesare e misurare gli articoli con CubiScan. Lo SmartCode prepara il dispositivo CubiScan a registrare il peso e le dimensioni di un oggetto nel sistema. Ciò consente l'allegato automatico delle informazioni sul prodotto sotto forma di metadati ai file immagine.
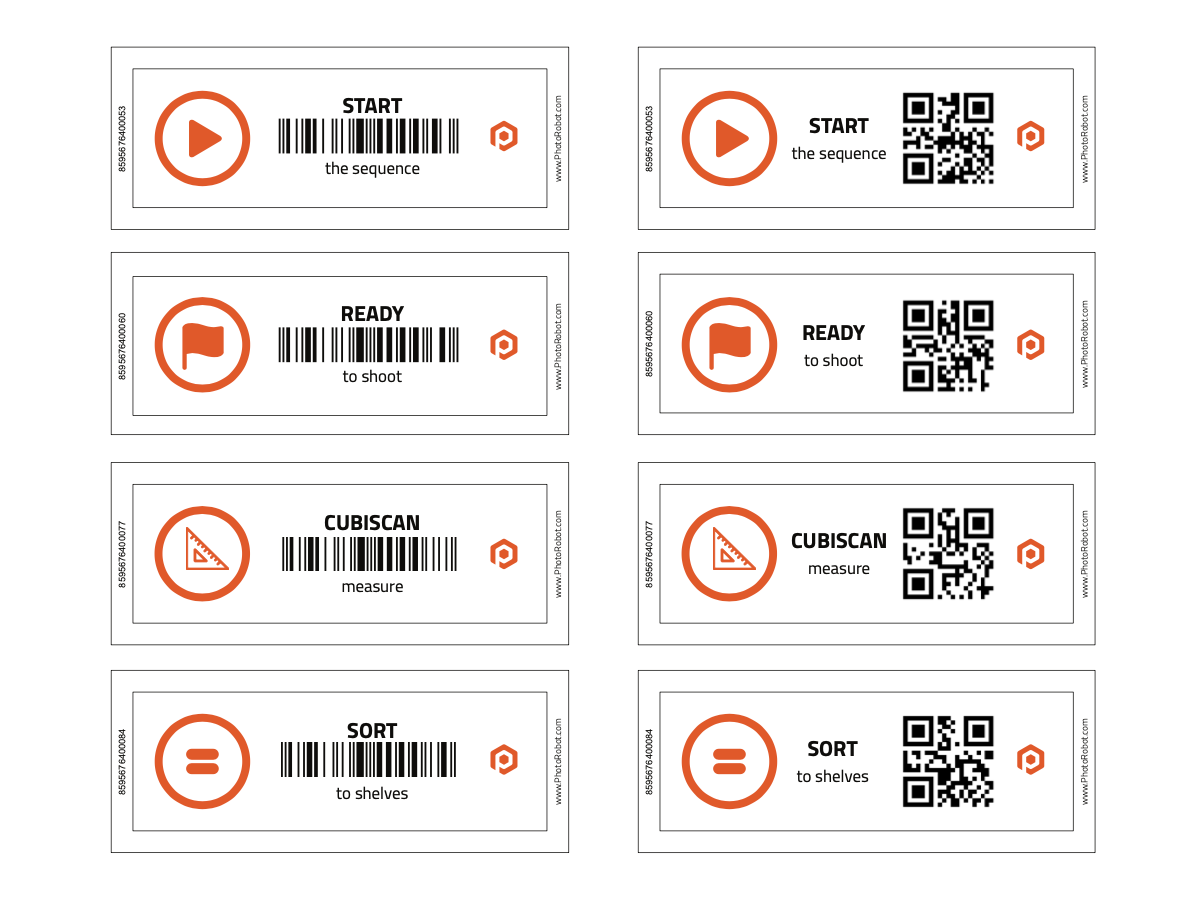
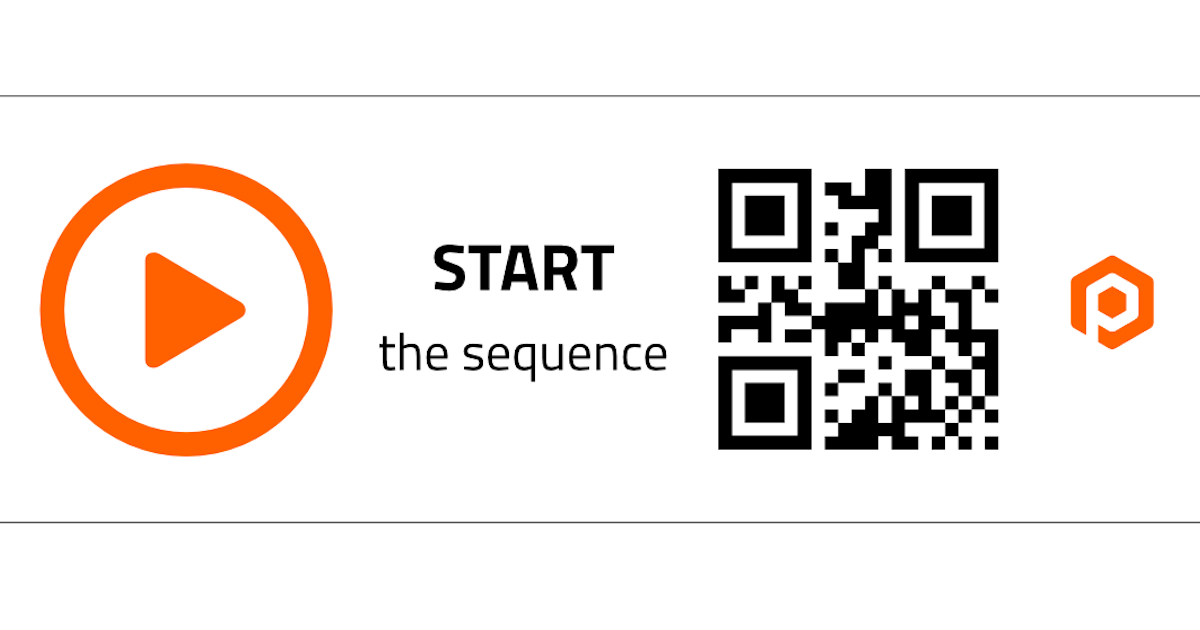
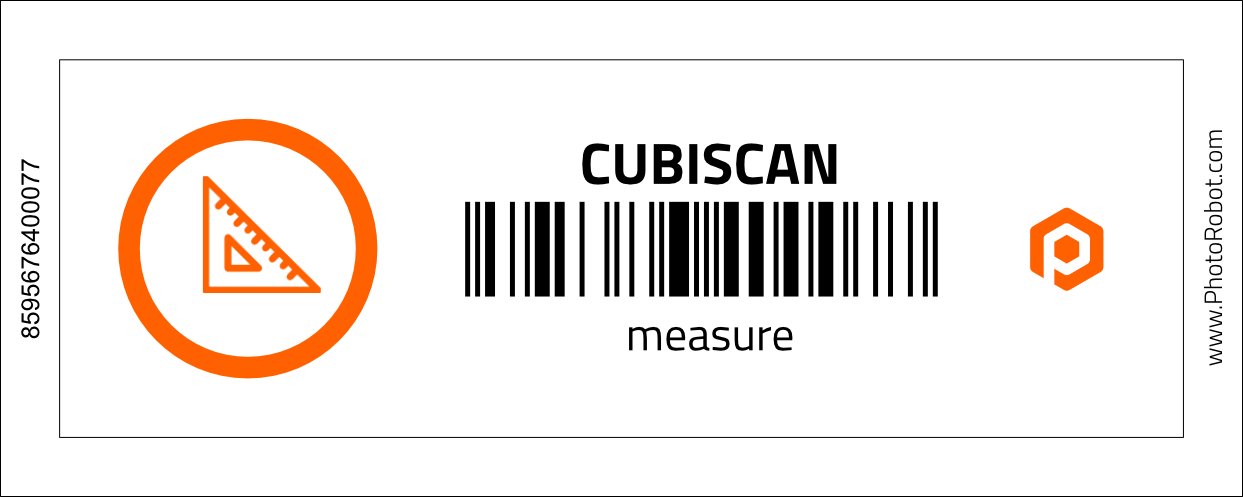
In pratica, le sale di produzione di solito stampano uno SmartCode come adesivo o etichetta e lo posizionano direttamente su o vicino a un dispositivo CubiScan. Ogni SmartCode può essere in formato codice a barre o codice QR.
Nel frattempo, ogni prodotto ha anche il proprio codice ID univoco o SKU, che informa CubiScan quale articolo misurerà.
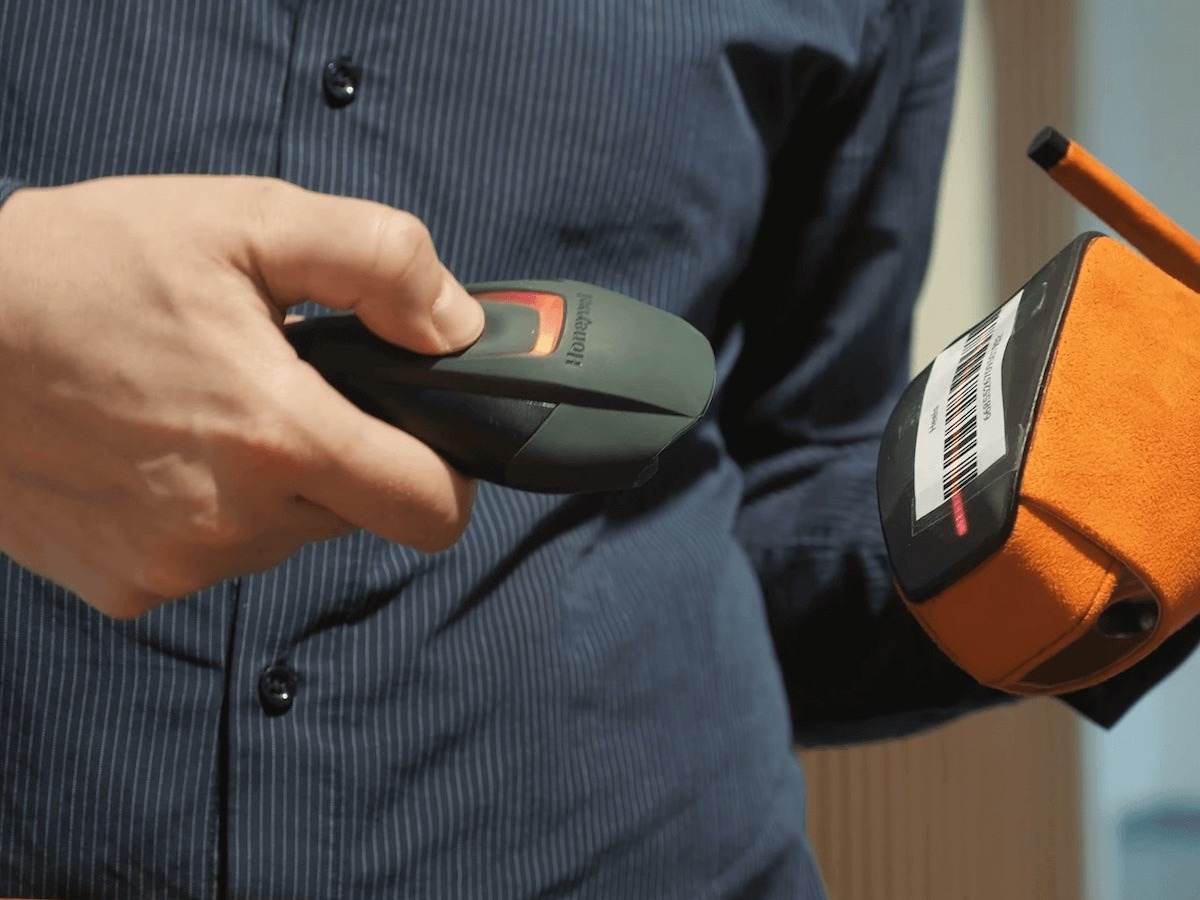
Ciò consente agli operatori della linea di produzione di scansionare semplicemente lo SmartCode per CubiScan, e quindi scansionare il codice prodotto dell'articolo da misurare. Successivamente, fanno passare l'articolo attraverso il dispositivo CubiScan, che registra automaticamente il peso e le dimensioni dell'oggetto nel sistema.
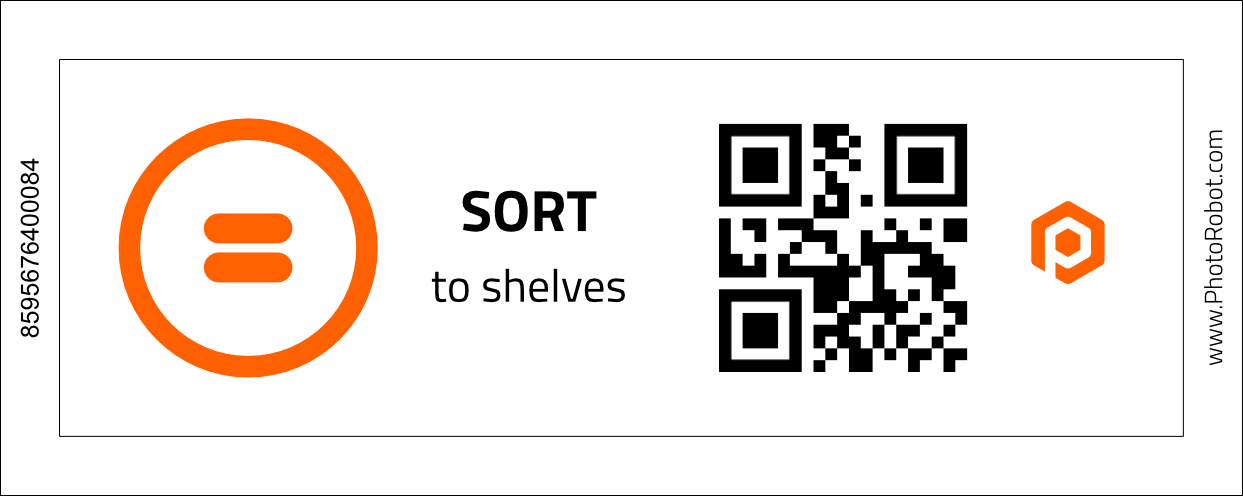
2 - Smistamento articoli su scaffali (carrelli) tramite SmartCode
Un altro vantaggio del flusso di lavoro SmartCode riguarda l'ordinamento degli articoli in categorie utilizzando i codici scaffale (carrello). In questo caso, esiste uno SmartCode per istruire il sistema a iniziare a ordinare gli articoli sugli scaffali (carrelli), e anche un codice scaffale univoco. Il codice scaffale memorizza impostazioni fotografiche configurabili e preimpostazioni per tipi di articoli simili nel sistema.
In pratica, ciò consente di ordinare gli articoli in "scaffali" software per raggruppare facilmente gli articoli con requisiti fotografici simili e per la loro successiva fotografia automatizzata.
Per fare ciò, l'operatore scansiona prima lo SmartCode, poi scansiona un codice articolo e infine scansiona un codice scaffale corrispondente.
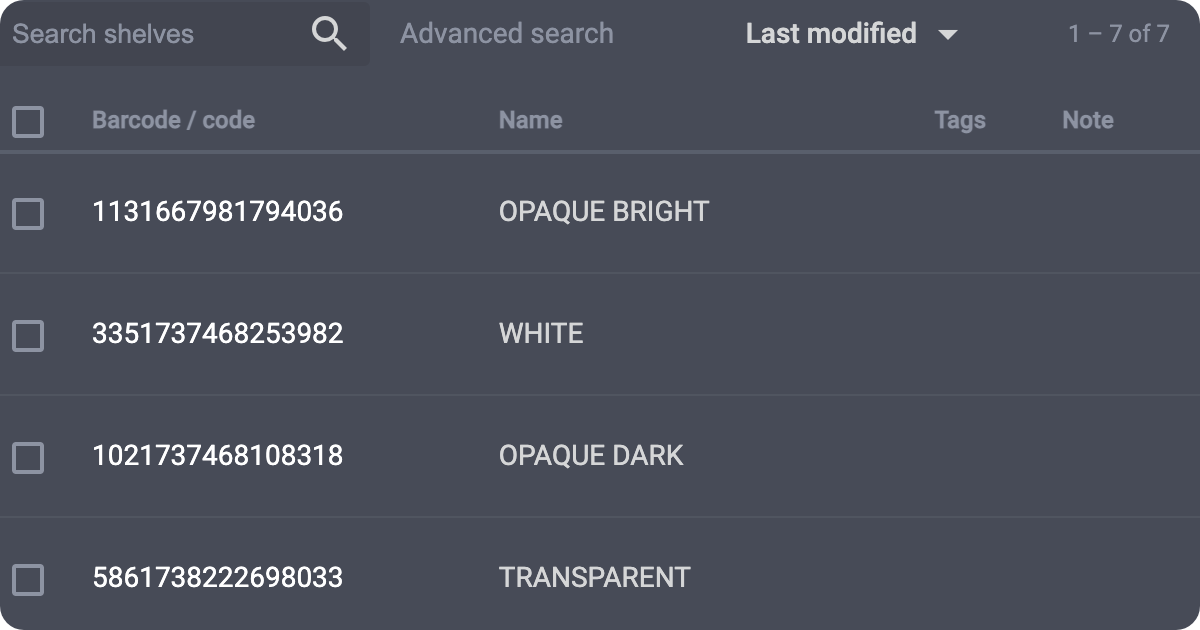
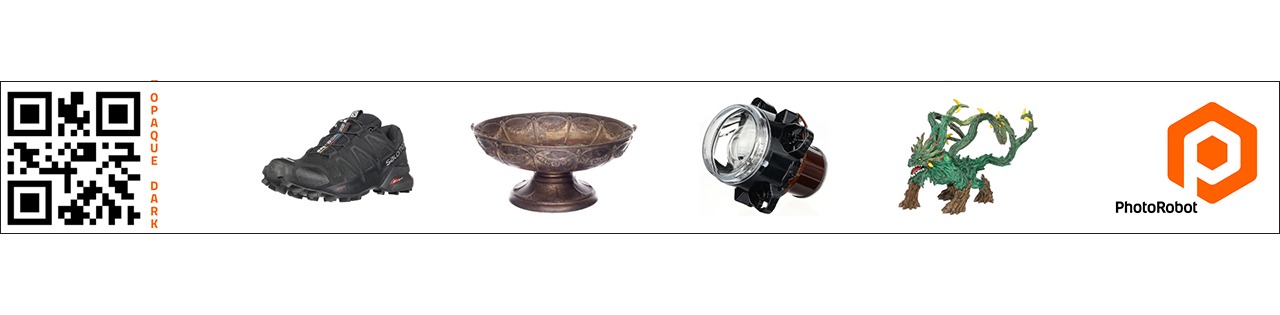
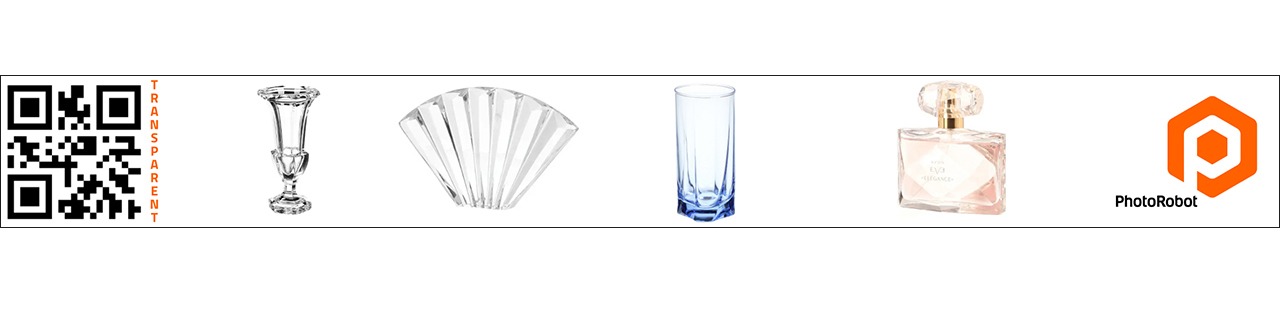
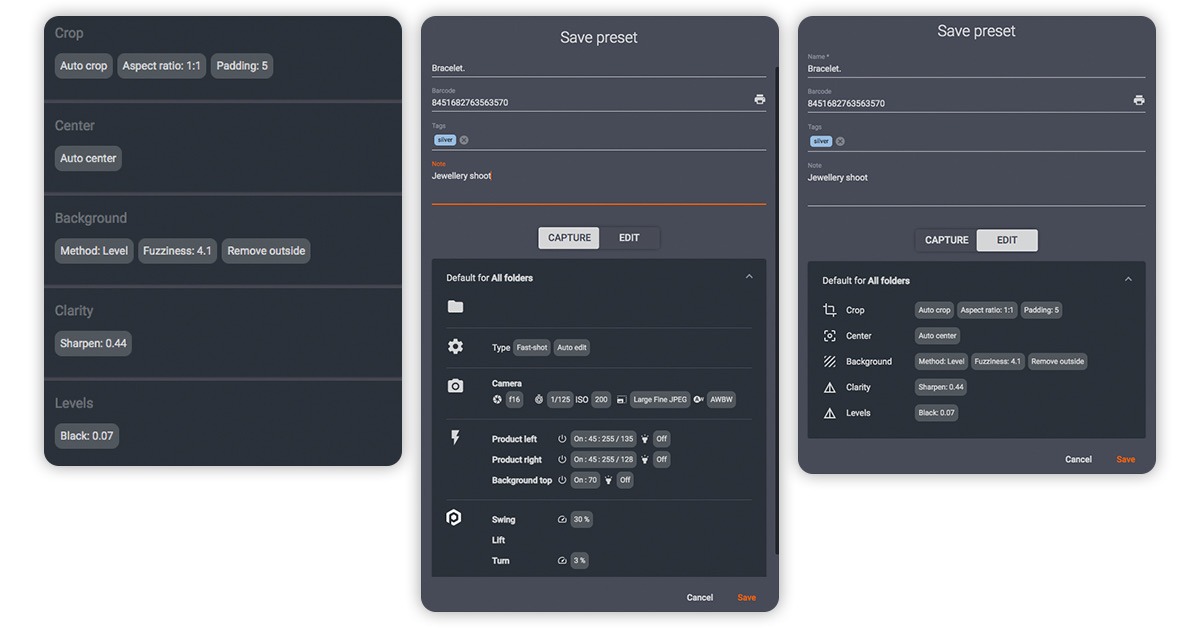
I codici degli scaffali conterranno le impostazioni di illuminazione e acquisizione fotografica, insieme a eventuali preset aggiuntivi per l'acquisizione e la post-produzione. Prendiamo ad esempio impostazioni e preset speciali per oggetti di diverso colore, trasparenza, dimensione e proprietà uniche. I gruppi possono includere oggetti opachi, oggetti chiari e oggetti più complessi come elementi con superfici trasparenti o altamente riflettenti.
Vari codici scaffale aiutano quindi i team di produzione a ordinare gli articoli in base a guide di stile, allestimento, sovrapposizione di immagini e altro ancora. I codici sono anche completamente personalizzabili, quindi dipende solo dai tipi di prodotti da fotografare.
I team posizionano quindi i codici degli scaffali vicino alle postazioni di lavoro dove preparano gli articoli per la fotografia, come direttamente su scaffali e carrelli per prodotti. Più vicina è la postazione di lavoro, più fluidi diventano i flussi di lavoro di produzione.
3 - Identificazione degli articoli per la fotografia
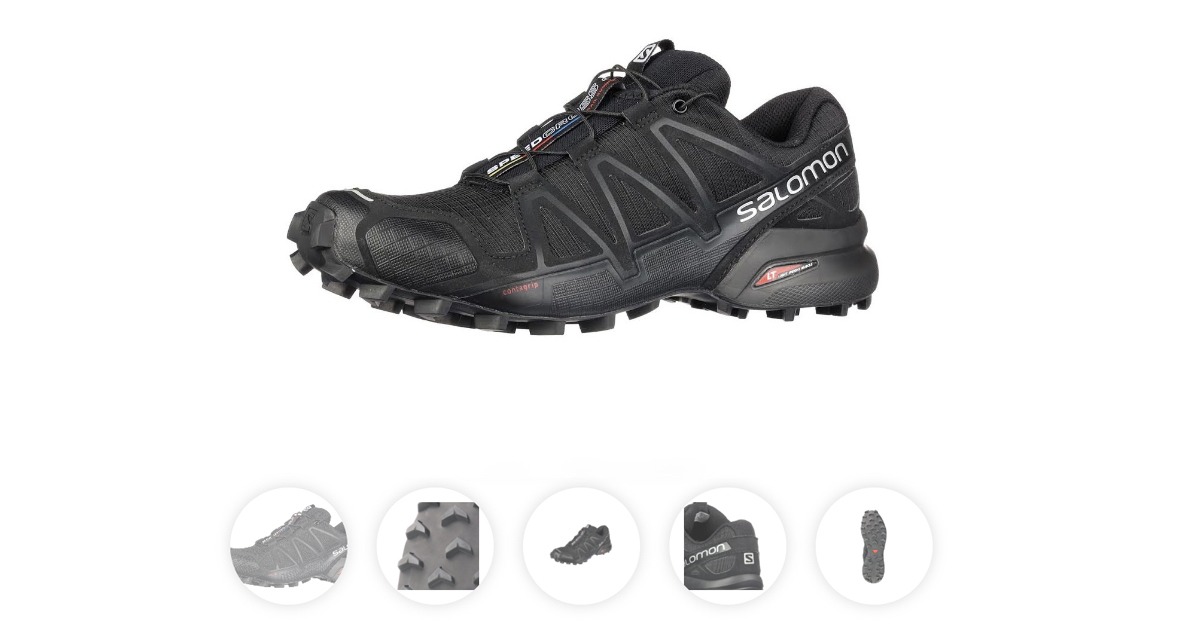
Dopo aver smistato i prodotti sugli scaffali nel software, l'identificazione di un articolo per la fotografia richiede solo la scansione del suo codice a barre. Questa è la fase immediatamente precedente al posizionamento di un articolo sul robot. Il codice a barre dell'articolo indicherà al sistema quale prodotto verrà fotografato e il suo codice scaffale specifico.
La scansione del codice a barre dell'articolo istruisce quindi automaticamente il sistema sulla cattura robotizzata e sulla post-elaborazione dell'articolo. Questo avviene in base al codice scaffale/rack dell'articolo e include eventuali preimpostazioni per le impostazioni della fotocamera e della luce, nonché gli output da acquisire.
Ad esempio, la scansione del codice prodotto a questo punto potrebbe attivare preset per estrarre foto di prodotto 2D STILL specifiche in combinazione con uno SPIN a 360.
Può anche includere istruzioni per una sequenza di acquisizione di più elevazioni attorno all'oggetto per produrre SPIN di prodotto 3D e modelli di oggetti 3D.
Tutte queste istruzioni derivano direttamente dal precedente collegamento del codice scaffale all'articolo. Pertanto, i team devono solo scansionare il codice a barre dell'articolo per preparare il software per l'automazione della fotografia e quindi posizionare l'articolo sul robot.
4 - Modifica dello stato del flusso di lavoro in “Pronto per lo scatto”
Per indicare al sistema che un articolo è pronto per entrare nel flusso di lavoro fotografico, esiste lo SmartCode “Pronto per lo scatto”. La scansione di questo SmartCode modifica automaticamente lo stato del flusso di lavoro di un articolo in “Pronto per lo scatto” nel software.
Ciò indica che le fasi di preparazione dell'articolo sono complete, inclusa qualsiasi preparazione aggiuntiva necessaria prima della messa in scena del prodotto. Prendiamo ad esempio il disimballaggio, l'assemblaggio, lo styling, la disposizione o la configurazione dei prodotti prima di trasportarli a una linea di produzione. In questi casi, c'è spesso qualcuno che gestisce la preparazione aggiuntiva nella parte di backstage del flusso di lavoro. Pertanto, il sistema richiede un modo per i responsabili del backstage di indicare alla linea di produzione che questa preparazione è completa. In questo modo, è possibile per l'intero ecosistema iniziare a lavorare come un unico pacchetto completo, concentrandosi per raggiungere la massima velocità di produzione complessiva.
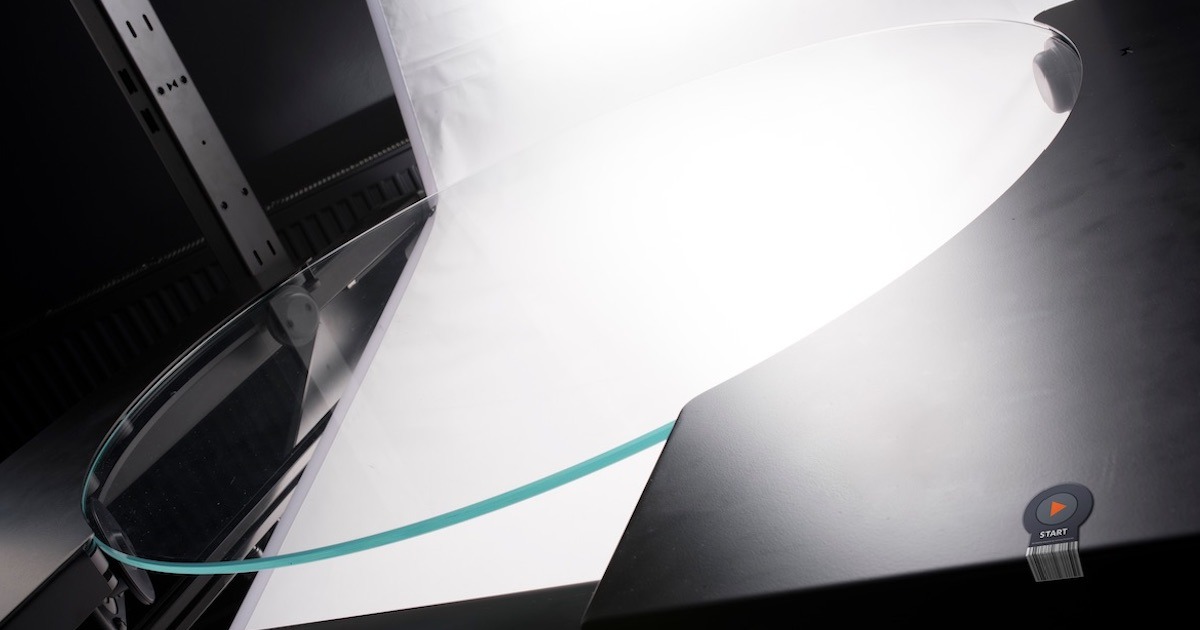
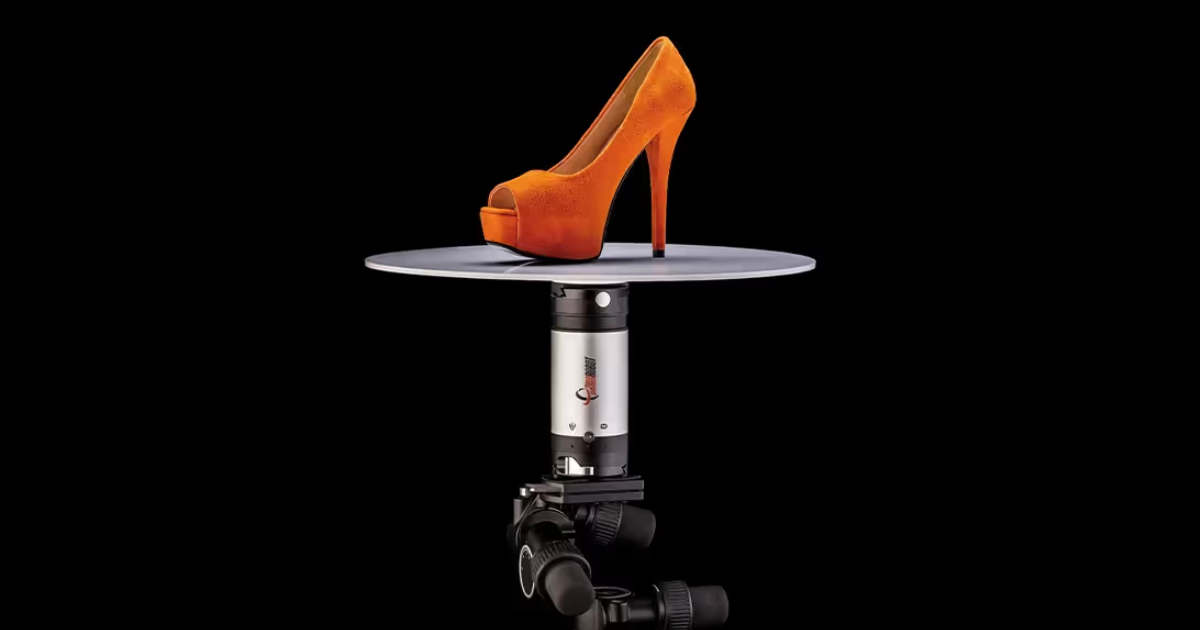
Quando lo stato dell'articolo è “Pronto per lo scatto”, la linea di produzione sa di poter preparare l'oggetto per le foto su una postazione di lavoro PhotoRobot. Nei capannoni di produzione più grandi, questo avviene spesso utilizzando un Centerless Table insieme a un Robotic Arm. La configurazione presenta un sistema laser a croce per posizionare facilmente gli articoli al centro del piatto della piattaforma girevole. Assicura inoltre un perfetto allineamento del Robotic Arm e della piattaforma girevole a 360 in ogni momento.
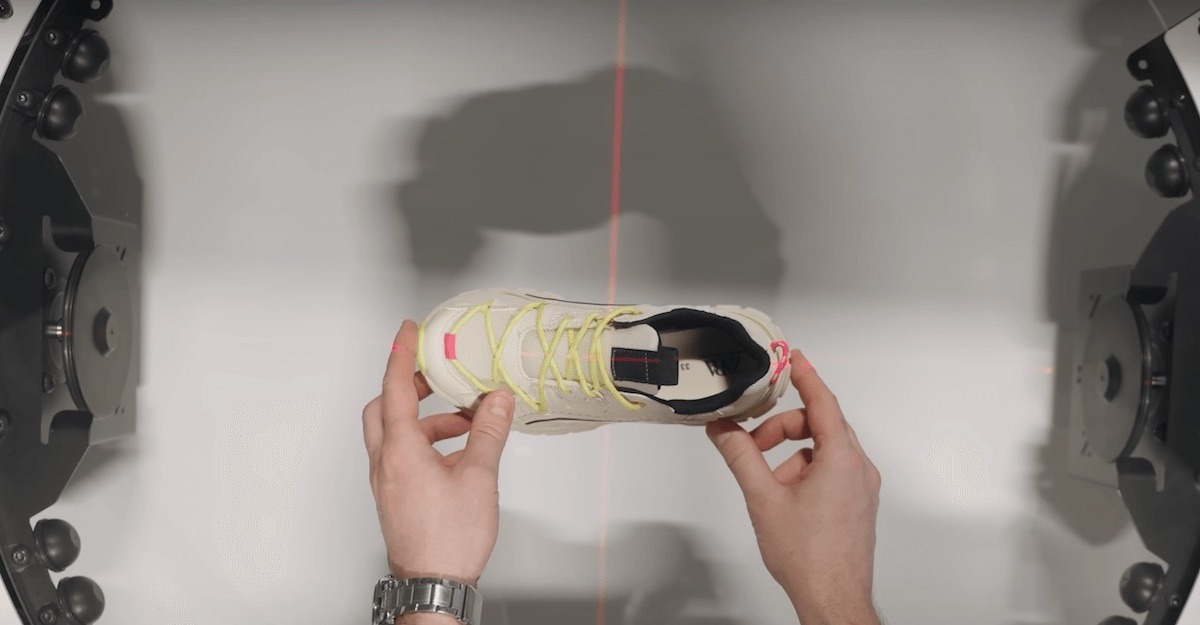
L'allestimento del prodotto richiede solo di posizionare un articolo al centro della griglia laser. Successivamente, il laser si spegnerà automaticamente prima della sequenza di acquisizione, che richiede anche solo la scansione di un altro SmartCode per iniziare.
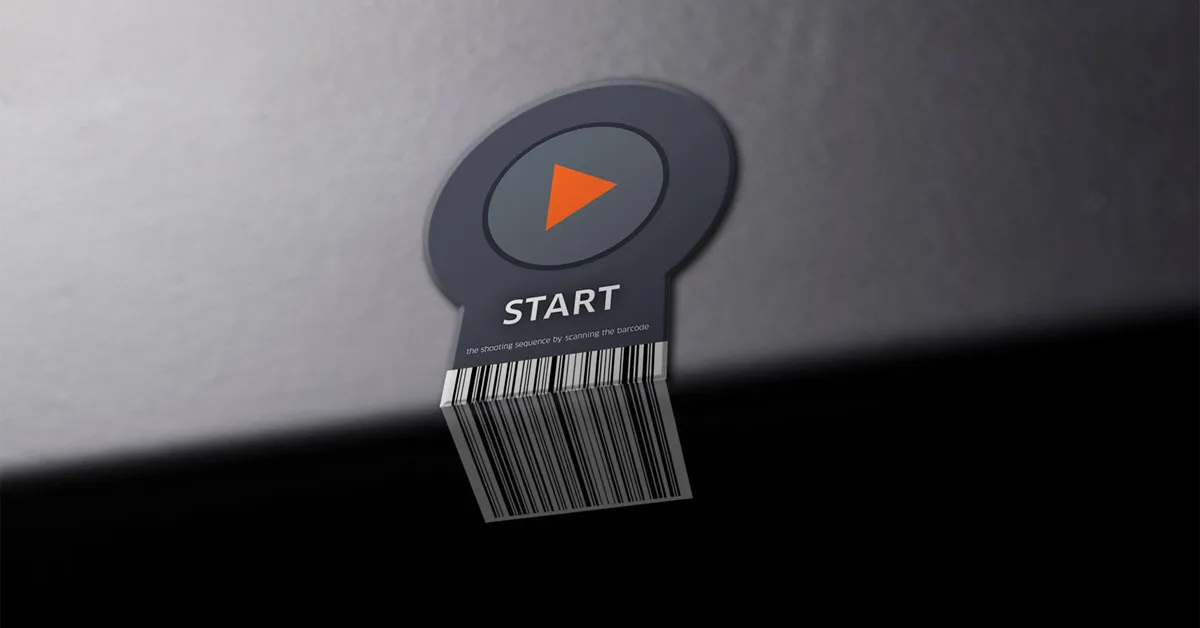
5 - Avvio dell'automazione completa dell'acquisizione tramite SmartCode
Infine, l'avvio dell'automazione completa dell'acquisizione nel flusso di lavoro SmartCode avviene subito dopo aver posizionato l'articolo sul dispositivo PhotoRobot. Per accelerare questo processo, la linea di produzione di solito dispone di uno SmartCode per “Avviare la sequenza” estremamente vicino alla postazione di lavoro robotica. Ciò consente di avviare istantaneamente la sequenza dopo aver posizionato un oggetto.

Molto spesso, questo avviene stando direttamente alla macchina, dove la sala di produzione ha posizionato lo SmartCode per l'attivazione istantanea. L'avvio della sequenza spegne quindi il sistema di posizionamento laser e attiva la regolazione verticale automatica della telecamera. A questo punto, il livello orizzontale della telecamera si allineerà anche al centro assoluto dell'altezza dell'oggetto.
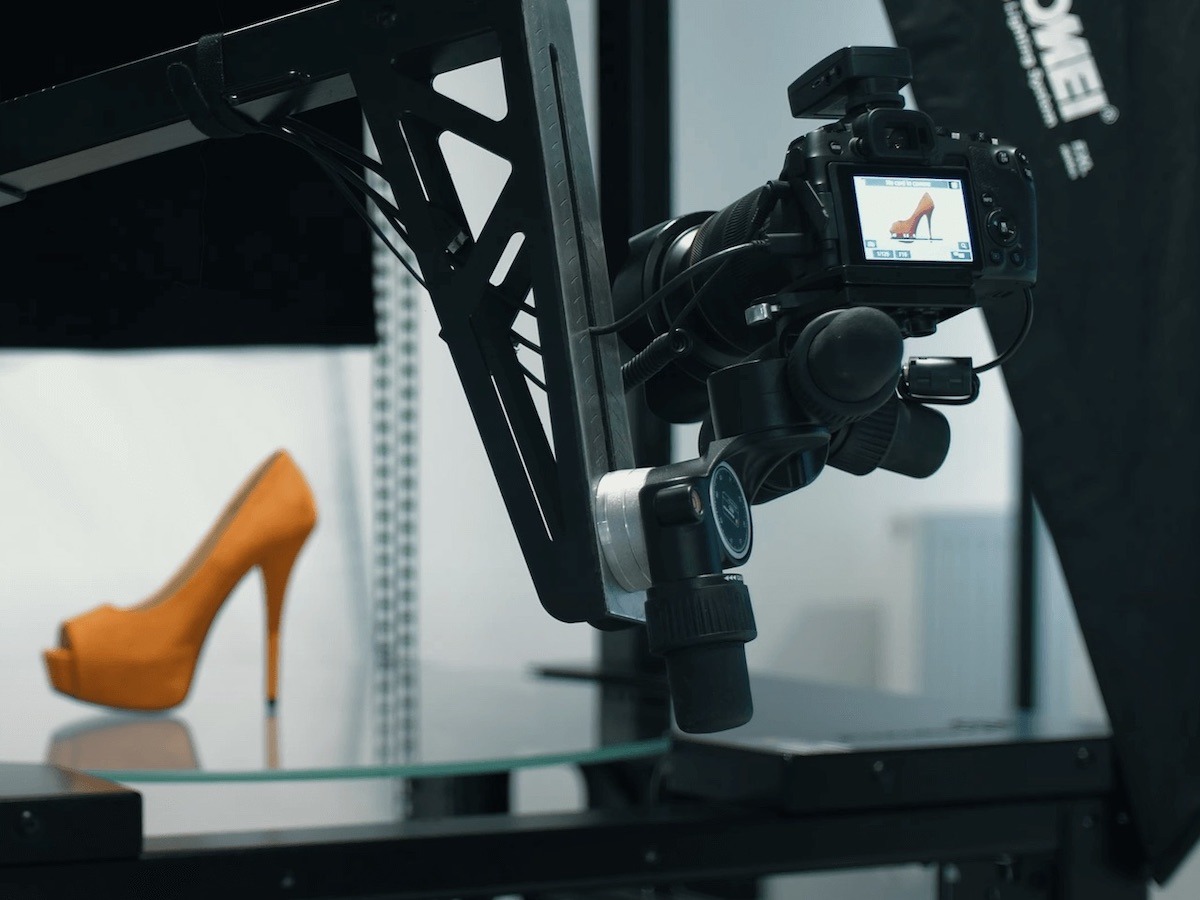
Tutto questo è completamente automatico grazie alla precedente registrazione delle misurazioni e delle dimensioni dell'oggetto da CubiScan. Quindi, dopo la regolazione della fotocamera, tutte le luci dello studio, i processi ROBOTICi e le impostazioni di acquisizione si attivano senza chiedere. Le operazioni includono preset per istruire il TURNTABLE ad avviare la rotazione e trigger di acquisizione remota in sincronia con gli strobo dello studio.
Mentre le impostazioni della fotocamera seguono i preset, i potenti flash aiutano a prevenire la sfocatura del movimento degli oggetti. Ciò consente la rapida acquisizione di 360 senza la necessità di interrompere la rotazione del TURNTABLE. In parallelo, il braccio ROBOTIC è in grado di muoversi lungo una traiettoria verticale per automatizzare l'acquisizione di più file di elevazioni. È quindi facile e veloce produrre SPIN multi-riga, modelli 3D e anche video di prodotti a 360 seguendo tempistiche programmabili. Tutto semplicemente scansionando uno SmartCode.
Godere della post-produzione automatica in background
Dopo aver catturato un articolo, i laser sulla macchina si riaccendono per la preparazione del prodotto successivo e la post-elaborazione cloud inizia senza chiedere. La post-produzione avviene anche completamente in background nel cloud, quindi non c'è attesa tra la fotografia e la post-elaborazione.
Le linee di produzione ripetono semplicemente il flusso di lavoro SmartCode da qui. Preparano l'articolo successivo per la fotografia, scansionano il suo codice a barre, lo allestiscono e lo preparano tramite SmartCode, e scansionano lo SmartCode di avvio per acquisire, post-elaborare e persino pubblicare.
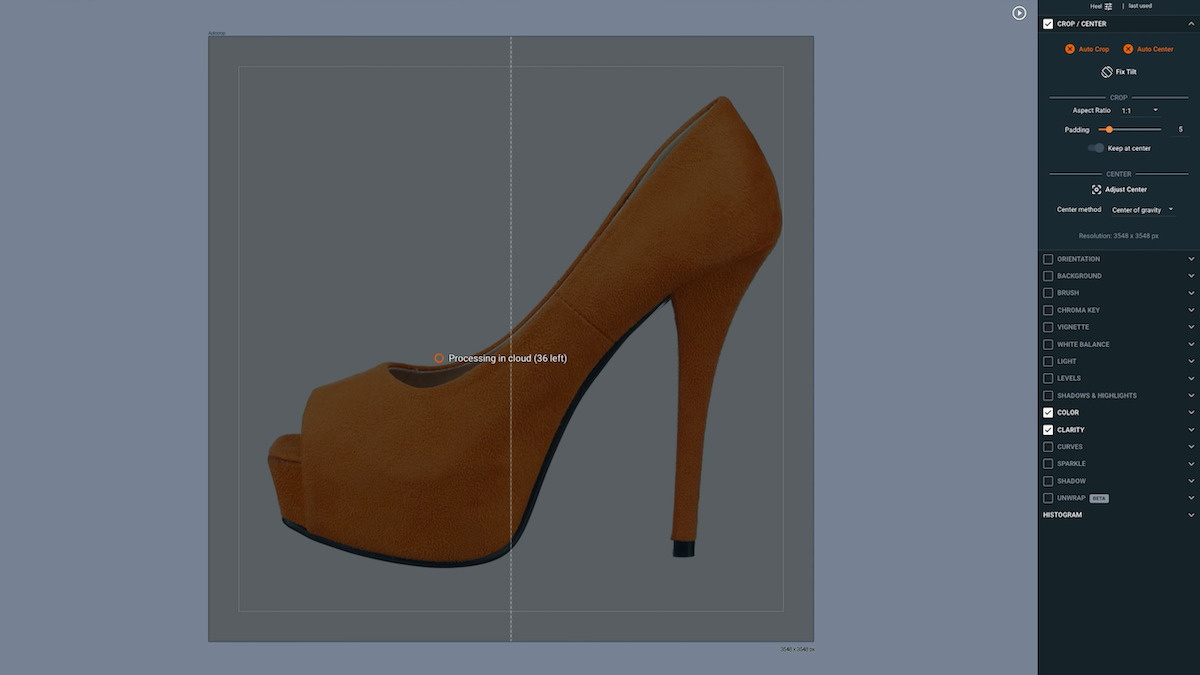
Grazie all'integrazione di CubiScan con codici scaffale/rack e SmartCodes, tutte le fasi di produzione sono completamente connesse. Viene eseguito il backup delle immagini originali immediatamente dopo l'acquisizione, mentre la rimozione dello sfondo e le ottimizzazioni delle immagini vengono eseguite in base ai preset.
Nel frattempo, i preset istruiscono il software a memorizzare i file localmente in una cartella condivisa o a caricarli automaticamente. Possono pubblicare i file istantaneamente dopo l'acquisizione su PhotoRobot Cloud, o tramite API a feed di esportazione eCommerce. Tutto ciò mentre la linea di produzione sta fotografando il lotto successivo di prodotti.
Sfrutta appieno il flusso di lavoro SmartCode
Alla fine, il flusso di lavoro PhotoRobot SmartCode rappresenta non solo le velocità di produzione ineguagliabili di PhotoRobot. Inoltre, mostra come PhotoRobot supporta tutte le parti del flusso di lavoro dello studio, dal backstage alla linea di produzione. Gli SmartCode aiutano l'intero ecosistema a lavorare come un tutt'uno, collegando ogni fase della produzione con l'elaborazione e la pubblicazione dei dati completamente automatizzate. L'obiettivo è raggiungere le massime velocità di produzione complessive, dal prodotto in entrata al prodotto in uscita.
Per maggiori informazioni sull'integrazione degli SmartCode nei tuoi flussi di lavoro, consulta la Guida per l'utente PhotoRobot SmartCodes. Troverai SmartCode pronti per la stampa, documentazione tecnica e passaggi per formare facilmente il tuo personale per cicli di produzione più fluidi.


